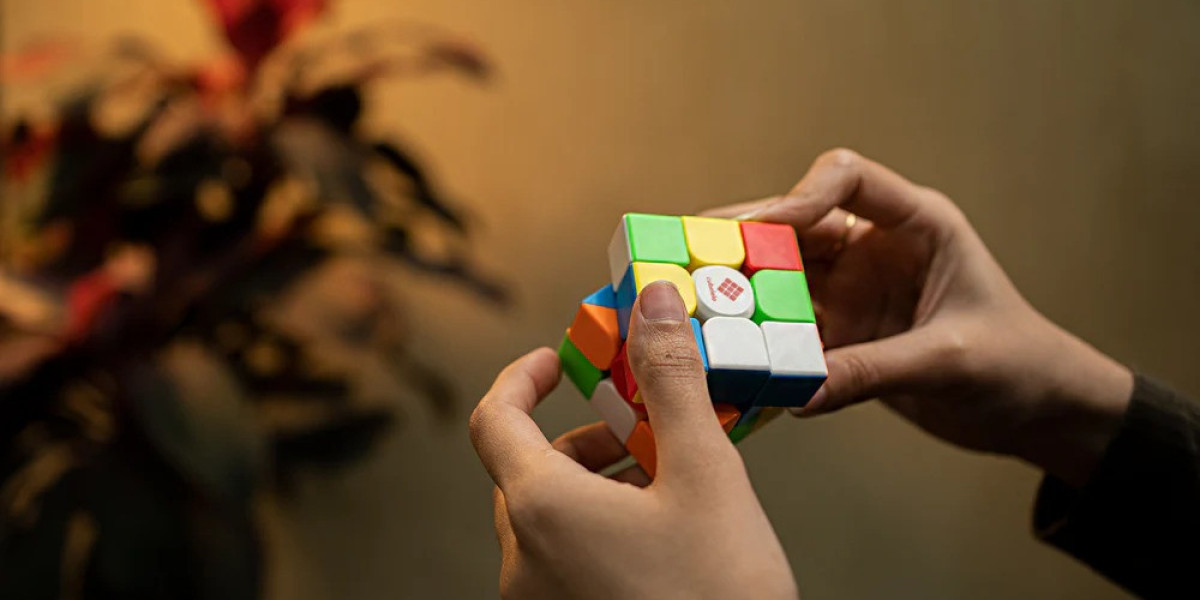
Solving a 3x3 Rubik's Cube might seem overwhelming at first, but breaking it down into clear, manageable steps makes it much easier. This Rubik's Cube Solver 3x3 guide will walk you through a straightforward approach to mastering this iconic puzzle.
Understanding the Cube
The 3x3 Rubik’s Cube consists of 26 smaller pieces: 6 centerpieces, 12 edge pieces, and 8 corner pieces. The centerpieces determine the color of each face and are fixed in place, while edge pieces and corner pieces move around to create different configurations. Familiarizing yourself with these components is crucial for solving the cube efficiently.
The Notation System
To navigate the cube's movements, you'll need to understand the notation used to describe these actions. Each move is denoted by a letter:
R stands for rotating the right face clockwise.
R' indicates a counterclockwise rotation of the right face.
U is for a clockwise turn of the top face.
U' means turning the top face counterclockwise.
F denotes a clockwise rotation of the front face, and F' means a counterclockwise turn.
Understanding this notation is essential as it forms the basis of the solving algorithms.
Step 1: Solve the White Cross
Start by forming a white cross on the top face of the cube. Align the white edge pieces with the centerpieces of the adjacent sides. Begin by finding a white edge piece and positioning it correctly on the top layer. Rotate the top layer to align the edge piece with the corresponding center colors. Repeat this process for all four edges to complete the white cross. This step sets the foundation for the rest of the solve.
Step 2: Solve the White Corners
With the white cross completed, focus on solving the white corners to finish the first layer. Locate a white corner piece in the bottom layer and position it directly below its correct spot using the D or D' moves. Use the algorithm R', D', R, D to move the corner piece into place. Apply this algorithm until all white corners are correctly positioned, completing the white face and the first layer.
Step 3: Solve the Middle Layer Edges
The next step is to solve the middle layer edges. Look for an edge piece in the top layer that does not contain yellow. Align this edge piece with the corresponding center color and use one of the following algorithms to insert it:
For a right insertion, use U, R, U', R', U', F', U, F.
For a left insertion, apply U', L', U, L, U, F, U', F'.
Continue this process until all the middle layer edges are correctly positioned.
Step 4: Create the Yellow Cross
Now, focus on forming a yellow cross on the top face. Observe the yellow pieces on the top layer to determine your starting pattern. Use the algorithm F, R, U, R', U', F' to create the yellow cross. Repeat this algorithm as needed until all the yellow edge pieces form a cross on the top layer.
Step 5: Align the Yellow Edges
With the yellow cross in place, the next goal is to align the yellow edges with the centerpieces of their respective sides. Hold the cube so that one correctly placed edge is at the front. Use the algorithm R, U, R', U, R, U2, R' to align the yellow edges. Continue applying this algorithm until all yellow edges match their adjacent centerpieces.
Step 6: Position and Orient the Yellow Corners
Finally, position the yellow corners correctly and orient them to complete the cube. First, use the algorithm U, R, U', L', U, R', U', L to position the corners correctly. Then, orient the corners using the algorithm R', D', R, D. Rotate the top layer to bring another unsolved corner into the front-right position and repeat the orientation algorithm until all the yellow corners are solved.
By following these steps, you’ll become a proficient Rubik's Cube solver 3x3. With practice, you’ll improve your solving speed and gain confidence in tackling the cube. Happy cubing!


