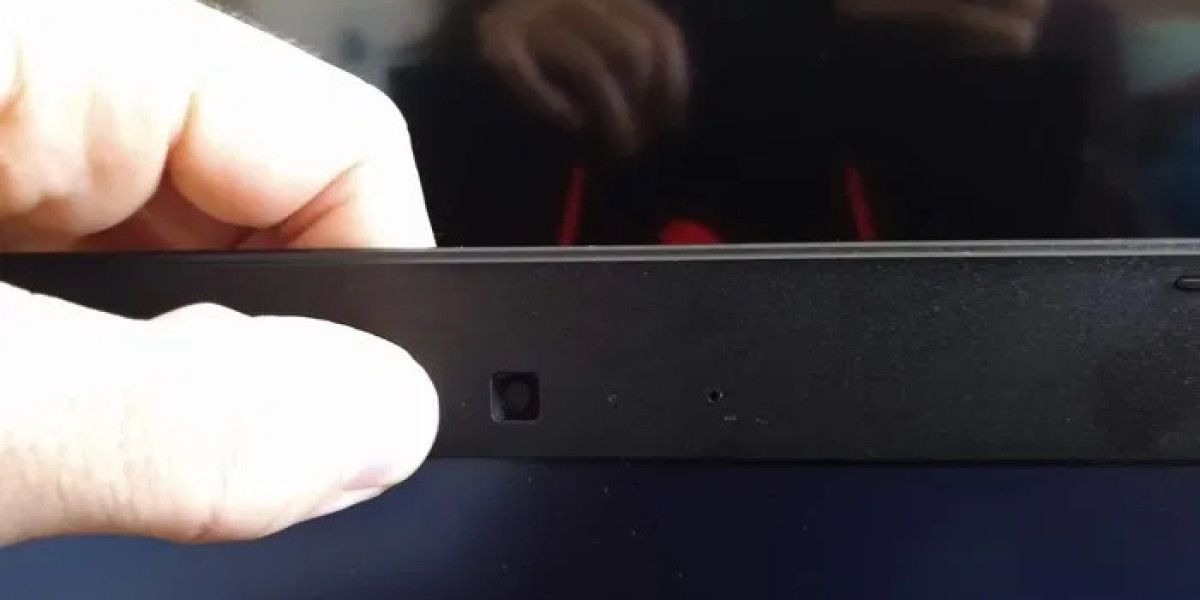
If you’re facing issues with your camera not working on Lenovo laptop, you’re not alone. Many users encounter this problem, whether it’s the camera not turning on or being undetectable in Windows 8.1, 10, or other versions. Luckily, there are various solutions to get your camera working again.
Common Issues with Lenovo Laptop Cameras
Lenovo laptops, including the Ideapad and ThinkPad series, often experience camera issues. These problems range from the camera not being detected to it failing to work properly in applications like Zoom. Below are a few potential reasons your Lenovo laptop's camera isn't working:
Privacy Settings: Windows privacy settings may block apps from accessing the camera.
Outdated Camera Drivers: If your camera drivers are outdated or corrupted, the camera may not function properly.
Incorrect BIOS Settings: Sometimes, your laptop’s BIOS settings might be configured incorrectly, disabling the camera.
Hardware Issues: There may be an internal hardware issue affecting your camera’s functionality.
How to Troubleshoot Camera Not Working on Lenovo Laptops
1. Check Privacy Settings
Lenovo camera issues are often related to privacy settings in Windows. To fix this, navigate to Settings > Privacy > Camera, and make sure the setting "Allow apps to access your camera" is turned on. Also, verify that the specific app you're trying to use has camera access.
2. Update Camera Drivers
One of the most common reasons for camera failure on Lenovo laptops is outdated drivers. To update your camera drivers:
Press Windows + X and select Device Manager.
Expand the Imaging devices section.
Right-click on your camera and select “Update driver”.
Follow the on-screen instructions to finish the update.
3. Enable Camera in BIOS
In certain situations, the camera might be disabled in the BIOS settings. To check this:
Restart your Lenovo laptop and press F1 or F2 to enter the BIOS setup.
Look for an option related to your camera and make sure it’s enabled.
Save changes and exit the BIOS.
4. Check Zoom or App-Specific Settings
If the camera works in other applications but fails on Zoom, it could be an application-specific issue. Make sure the camera is selected as the primary camera within the app’s settings. For Zoom, open Settings > Video and select your camera from the drop-down menu.
5. Reset the Camera App
If you’re using the Camera app on Windows 10 or 8, and it’s not working, try resetting it:
Go to Settings > Apps > Apps & Features.
Search for Camera, click it, and select Advanced Options.
Click Reset to reset the camera app to its default settings.
Advanced Fixes for Lenovo Laptop Cameras
Reinstall the Camera Driver
If updating the driver didn’t work, you might need to uninstall and reinstall it:
Open Device Manager, right-click on your camera, and select Uninstall device.
Restart your computer, and Windows will reinstall he driver automatically.
Use Lenovo Vantage or Lenovo Support
Lenovo offers tools like Lenovo Vantage to manage system updates, including camera drivers. You can download Lenovo Vantage from the Microsoft Store and use it to update your drivers.
Alternatively, visit the Lenovo Support website, input your laptop model, and download the latest drivers manually.
Hardware Diagnostics and Solutions
If software solutions don’t work, there might be a hardware issue. Contact Lenovo’s support team for diagnostics, or visit an authorized service center.
By following these steps and ensuring your drivers, settings, and privacy configurations are correct, you can resolve most issues with your Lenovo laptop camera.