Fall is a season filled with celebrations, from cozy gatherings to weddings and bridal showers. If you're a fan of crafting, entertaining, or simply adding a personal touch to your décor, you'll love this DIY project: glitter wine glasses. This easy-to-make craft is perfect for fall festivities, baby showers, bridal showers, and even weddings. Plus, it makes a fabulous gift for the wine lover in your life. Ready to get creative? Let’s dive into how you can make stunning glitter wine glasses with just a few supplies.
Materials You’ll Need
Before getting started, gather all the necessary materials to make your glitter wine glasses shine.
Here’s what you’ll need:
- Mod Podge: Make sure to use dishwasher-safe Mod Podge if you plan to wash these glasses in the dishwasher.
- Triple Thick Gloss Glaze: This will give your glitter glasses a durable, shiny finish.
- Glitter: Neon orange works great for fall, but feel free to use any color that fits your theme. You can use both extra fine and chunky glitter for added texture.
- Wine Glasses: You can find affordable wine glasses at your local dollar store.
- Paintbrush and Foam Brush: You’ll need these to apply the Mod Podge and Triple Thick Gloss Glaze.
- Vinyl: For adding custom designs or lettering to the glasses.
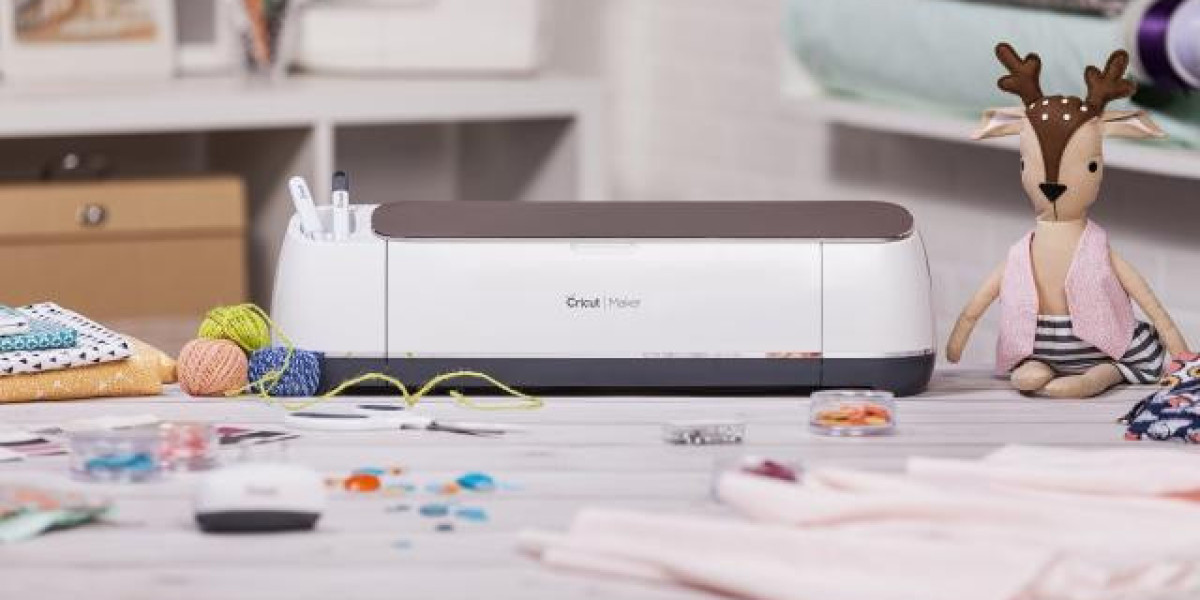
- Cricut Machine: A Cricut Joy, Cricut Explore, or Cricut Maker will help you cut out vinyl designs for an added personal touch.
Now that you have your materials ready, let’s start crafting!
Step 1: Preparing Your Wine Glass
The first step in creating your glitter wine glass is prepping the glass. Make sure the glass is clean and free of any fingerprints or oils that could prevent the glitter from sticking properly.
Clean the Glass
- Wash the glass thoroughly with warm soapy water and dry it completely.
- Use rubbing alcohol and a lint-free cloth to wipe down the areas where you’ll be applying the glitter. This ensures the surface is clean and ready for Mod Podge.
Step 2: Applying Mod Podge
Now that your glass is prepped, it’s time to apply Mod Podge to the areas where you want the glitter. In this project, we’re focusing on adding glitter to the stem, but feel free to modify the design based on your preference.
How to Apply Mod Podge:
- Using your foam brush, apply an even layer of Mod Podge to the stem of the wine glass.
- If you're worried about making a straight line where the stem meets the base of the glass, use painter’s tape to create a clean edge. You can also tape off the bottom of a stemless glass if you prefer to add glitter to that area.
- Make sure the Mod Podge is evenly distributed across the stem to avoid clumps of glitter.
Step 3: Adding the Glitter
This is the fun part—adding glitter! For a seasonal touch, we’ll use neon orange and black glitter, but feel free to use any colors that suit your theme or occasion.
How to Apply Glitter:
- Place a plate, wax paper, or glitter tray under the wine glass to catch any excess glitter.
- Mix your glitter colors in a container. For fall, neon orange and black create a bold, eye-catching look.
- Begin sprinkling the glitter onto the Mod Podge-covered stem, rotating the glass as you go to ensure even coverage.
- Once the stem is fully coated, gently tap the glass to remove any excess glitter.
- Let the glass dry for one to two hours before moving on to the next step.
Step 4: Removing Excess Glitter
Once your glass has dried, it’s important to remove any loose glitter to keep your final product neat and clean.
Here’s how:
- Use a clean, dry paintbrush to lightly brush over the glittered stem. This will remove any excess glitter that didn’t stick to the Mod Podge.
- Be gentle to avoid disturbing the glitter that is already adhered to the glass.
Step 5: Sealing the Glitter
To make sure your glitter wine glass holds up over time, it’s crucial to seal the glitter with a top coat. This not only adds a shiny finish but also prevents the glitter from flaking off during use.
Applying the Top Coat:
- Once you’ve removed the excess glitter, apply a second thin layer of Mod Podge over the glittered stem using a foam brush.
- Allow this layer to dry completely.
- For added durability and shine, apply a coat of Triple Thick Gloss Glaze over the Mod Podge. This creates a smooth, glossy finish that protects the glitter and makes the glass easier to clean.
- Let the glass dry for several hours, or overnight, before handling.
Step 6: Customizing Your Glass with Vinyl
Now that your glitter wine glass is complete, you can take it a step further by adding a personal touch with vinyl designs or lettering. This is optional but adds a unique, customized element to your glass.
How to Add Vinyl Designs:
- Use your Cricut machine to cut out shapes, initials, or phrases from the vinyl.
- Apply the vinyl designs to the glass in your desired location. Make sure the glass is dry and clean before doing this.
- Smooth out any air bubbles using a scraper tool or your fingers.
This step adds an extra level of personalization and makes these glitter wine glasses perfect for gifting or party favors.
Final Thoughts
Whether you’re hosting a party, creating gifts, or just want to add a little sparkle to your home, DIY glitter wine glasses are a fun and easy craft project that anyone can do. With just a few simple materials and a bit of creativity, you can make beautiful, personalized glasses that will impress your guests or delight your loved ones.
The best part? These glitter glasses are fully customizable. Experiment with different glitter colors, designs, and vinyl decals to create a one-of-a-kind glass that matches your personal style or party theme.
business cards cricut
Mega SVG Bundle
butterfly images for cricut
Cricut Design
cricut designs free download
disney cricut shirt ideas