Cupcake toppers are an easy and fun way to personalize your celebrations. With a Cricut machine, you can create custom cupcake toppers for any occasion, from birthdays and baby showers to themed parties. This project allows you to design toppers that fit any theme, adding names, ages, or favorite images to give your cupcakes a unique touch.
In this tutorial, I'll show you how to create beautiful mermaid-themed cupcake toppers using Cricut Design Space, cardstock, and toothpicks. The process is simple, cost-effective, and flexible enough to be tailored to any party theme. Let’s get started!
Materials Needed
Before you begin, gather the following materials:
- Cardstock: For this project, you can use glitter cardstock and regular cardstock for the base layer. Glitter or shimmer paper can also be used to add some sparkle.
- Toothpicks or Small Sticks: You can use lollipop sticks, cocktail sticks, or standard toothpicks to hold the toppers in place.
Tools:
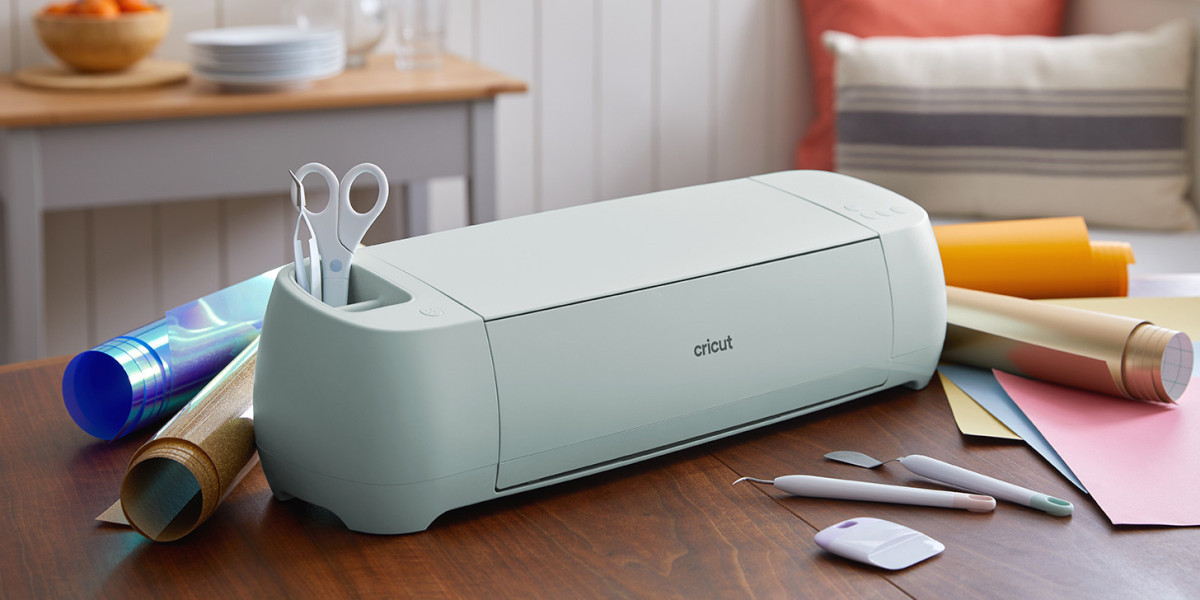
- Cricut Machine: This project works with any Cricut machine, such as the Cricut Maker, Cricut Explore Air, or Cricut Joy.
- Cutting Mat: A standard grip mat is ideal for cutting cardstock.
- Hot Glue Gun or Adhesive: You may also use double-sided foam strips for an elevated effect.
Why Make Your Own Cupcake Toppers?
Creating your own cupcake toppers with a Cricut offers endless customization options. You can match the toppers with your party’s theme or decor, adding personal touches like names, numbers, or favorite icons. Whether you're celebrating a child's birthday, hosting a themed event, or decorating for a holiday, these toppers can be made in any design or color to suit the occasion.
Moreover, making your own toppers is a budget-friendly option. Most toppers are discarded after use, so using materials like cardstock helps keep costs down. If you have a Cricut Maker or Cricut Maker 3, you can cut thicker materials, but cardstock is typically sufficient for this type of project.
Now, let’s walk through the steps of making these cupcake toppers using Cricut Design Space.
Step-by-Step Guide to Making Cupcake Toppers with Cricut
Step 1: Open Cricut Design Space
To start, open up a new canvas in Cricut Design Space. The software allows you to create and customize designs for your cupcake toppers. In this tutorial, we’ll be creating a mermaid-themed cupcake topper, but you can adapt the steps for any design you choose.
Use the search bar in the Images panel to find relevant designs. For example, I searched for "mermaid" and found two different images I wanted to use for the project. Insert both images onto your canvas by clicking on them.
Step 2: Customize Your Design
Once you have your images on the canvas, you can begin customizing them. For this tutorial, we’ll use a mermaid tail as the main part of the topper. If you want to add additional embellishments, Cricut Design Space makes it easy to combine images.
To do this, select the images you want to work with and click on the “Ungroup” option. This will allow you to edit the individual parts of the images. If you don’t want certain elements, you can simply delete them or use the “Contour” tool to hide parts of the image.
Step 3: Create the Base Layer
Next, we’ll create a base layer for the topper. This will help hide the toothpick and give the topper some extra dimension. To do this, select the image and click on the “Offset” tool. This feature creates a border around the image, which will serve as your base.
For cupcake toppers, you don’t need a large offset. In this example, I decreased the size of the offset to create a small border. You can adjust the size according to your preferences. Once you’re happy with the offset, click “Apply.”
Step 4: Prepare for Cutting
After designing the cupcake topper, it’s time to prepare the materials for cutting. Make sure your cardstock is securely placed on the cutting mat, and load it into your Cricut machine. Select the appropriate material settings in Cricut Design Space based on the type of cardstock or paper you’re using.
When you’re ready, click "Make It" in the software. The Cricut machine will begin cutting your design. Once it’s done, carefully remove the pieces from the cutting mat.
Step 5: Assemble the Cupcake Toppers
Now that you have all the pieces cut out, it's time to assemble your cupcake toppers.
- Glue the Layers: If you created a base layer with the offset tool, glue the main image onto the base layer. This will give the topper a layered look and hide the toothpick in between.
- Add the Toothpick: To attach the topper to the cupcake, place a toothpick between the two layers of cardstock. Use a hot glue gun or strong adhesive to secure the toothpick in place. Make sure it’s centered so the topper stands upright on the cupcake.
- Add Dimension (Optional): For an elevated look, you can use double-sided foam strips between the layers instead of glue. This will give the topper a 3D effect and make it stand out.
Step 6: Finishing Touches
Once your cupcake topper is assembled, you can add any finishing touches. If you want to enhance the design further, consider adding small embellishments like sequins or glitter. You can also use markers or pens to add extra details to the cardstock.
Your DIY cupcake topper is now ready! Simply insert the toothpick into the cupcake and admire your custom creation.
Tips for Customization
While this tutorial focuses on a mermaid-themed design, the possibilities for customization are endless. Here are a few ideas to inspire your next project:
- Themed Toppers: Create toppers to match the theme of your party, such as unicorns, superheroes, or dinosaurs.
- Personalization: Add names, initials, or ages to the toppers for an extra personal touch.
- Seasonal Designs: Make toppers for holidays like Christmas, Halloween, or Valentine’s Day.
- Matching Cake Toppers: Use the same design to make a larger cake topper to match the cupcakes.
Conclusion
Making cupcake toppers with your Cricut is a simple and fun way to add a personal touch to your party decor. With a few materials and the versatile Cricut Design Space, you can create beautiful toppers that match any theme or occasion. This mermaid-themed cupcake topper tutorial is just one example of how you can customize your Cricut projects to create unique, memorable decorations. So get creative and start making your own toppers for your next celebration!
Cricut Birthday Card Designs
cricut logo maker
monogram designs for cricut
cricut logo design
christmas font cricut