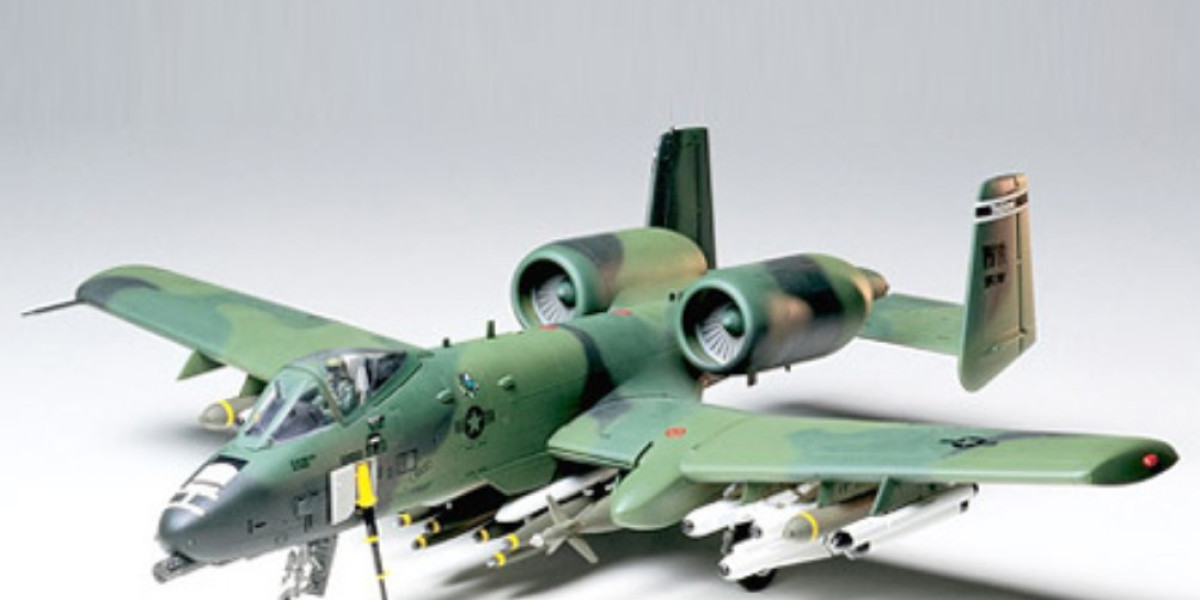
Building airplane model kits is not just a hobby; it’s a rewarding experience that allows enthusiasts to immerse themselves in the world of aviation. From the moment you open the box to the moment your meticulously crafted model takes to the sky (or your display shelf), every step of the process offers a chance to express creativity and attention to detail. This article will guide you through the art of crafting planes model kits, providing tips and insights that can elevate your building experience.
1. The Allure of Airplane Models
There’s something captivating about airplane models. They serve as a tangible connection to the engineering marvels that grace our skies. Whether you’re drawn to the sleek designs of modern jets or the historical significance of WWII fighters, model building allows you to appreciate the intricacies of aviation while developing your skills as a craftsman.
2. Choosing the Right Model Kit
Before diving into the building process, it’s essential to select the right model kit. Here’s what to consider:
Skill Level: Kits come in various complexities, from beginner-friendly snap-together models to intricate designs requiring advanced skills and tools. Assess your level and choose accordingly.
Scale: Model kits are available in different scales, such as 1:72 or 1:48. A smaller scale may result in a more intricate model, while larger scales provide more room for details.
Subject Matter: Consider your interests. Do you prefer modern jets, historical warplanes, or perhaps civilian aircraft? Choose a model that excites you and inspires creativity.
3. Gathering Your Tools and Materials
Once you’ve chosen your kit, gather the necessary tools and materials to ensure a smooth building process. Essential items include:
Basic Tools: A hobby knife, scissors, tweezers, and files for trimming and assembling parts.
Adhesives: Choose between plastic cement, super glue, or white glue, depending on the kit material and your preference.
Paints and Brushes: Acrylic paints are commonly used for model kits due to their ease of use and quick drying time. Invest in a variety of brushes for different painting techniques.
Cutting Mat: A self-healing cutting mat protects your work surface and makes cutting easier.
4. Preparing to Build
Preparation is key to a successful build. Follow these steps before you start assembling:
Read the Instructions: Thoroughly review the instructions that come with your kit. Familiarize yourself with the parts and assembly process, noting any special techniques required.
Organize Parts: Lay out the parts on a clean surface. Use containers to separate smaller pieces, preventing them from getting lost.
Test Fit: Before gluing, dry-fit the parts together to ensure they align correctly. This step helps identify any potential issues before committing to the assembly.
5. Building the Model
Now comes the exciting part—putting the model together! Here are some tips to keep in mind:
Start with the Cockpit: If your model includes a cockpit, start there. Detailing the cockpit can enhance realism and is often less accessible once the fuselage is assembled.
Use the Right Techniques: Follow the assembly instructions closely, and don’t rush. If you’re using glue, apply a small amount to avoid mess and ensure a clean bond.
Work in Sections: Assemble the model in manageable sections, allowing time for glue to dry between each step. This helps prevent mistakes and ensures stability.
6. Painting and Detailing
Painting is where your model truly comes to life. Consider these painting techniques:
Priming: Use a primer to create a smooth surface and improve paint adhesion. This step is especially important for plastic kits.
Base Coats: Apply a base coat in the primary color of your aircraft. Use an airbrush for a smooth finish or a brush for smaller areas.
Detailing: Once the base coat is dry, add details like panel lines, markings, and weathering effects. Use fine brushes for precise work and consider techniques like dry brushing or washes for depth.
7. Adding Final Touches
After painting, it’s time for the finishing touches:
Decals: Apply decals according to the instructions. Use a setting solution to ensure they conform to the surface details.
Final Assembly: Attach any remaining parts, such as wings, landing gear, and propellers. Double-check that everything is securely attached.
Gloss or Matte Finish: Depending on your desired look, consider applying a clear coat to protect your paint job and enhance realism. A gloss finish works well for polished surfaces, while a matte finish gives a more subdued look.
8. Displaying Your Model
Once your airplane model is complete, it’s time to showcase your hard work:
Display Cases: Invest in a display case to protect your model from dust and damage while allowing for an attractive presentation.
Lighting: Proper lighting can enhance the visual appeal of your display. Use spotlights or natural light to highlight your model’s details.
Storytelling: Consider creating a small plaque or description card that shares information about the aircraft and your building experience, adding context for viewers.
9. Joining the Community
Building airplane models is often more enjoyable when shared with others. Here’s how to connect with fellow enthusiasts:
Online Forums: Join online communities and forums dedicated to model building. Sharing tips, asking questions, and showcasing your work can lead to valuable feedback and friendships.
Local Clubs: Look for local modeling clubs or hobby shops that host events. Engaging with fellow modelers can provide inspiration and motivation.
Competitions: Consider entering your models in competitions. This can be a fun way to challenge yourself and receive recognition for your hard work.
10. Embracing the Journey
Model building is about more than just the finished product; it’s about the journey. Enjoy the process of learning, experimenting, and honing your skills. Whether you’re building a simple kit or tackling a complex project, each model represents a step in your growth as a craftsman and aviation enthusiast.
Conclusion
Crafting airplane model kits is a fulfilling hobby that combines creativity, history, and skill. From selecting the right kit to mastering painting techniques and joining a community of fellow builders, each aspect of model building offers an opportunity for growth and enjoyment. So grab your tools, choose your next model, and embark on the exciting journey from box to sky!
FAQs
1. What tools do I need to start building airplane models?
Essential tools include a hobby knife, scissors, tweezers, files, adhesives, paints, brushes, and a cutting mat.
2. How long does it take to build a model airplane?
Build time varies by kit complexity and your experience level, ranging from a few hours to several days.
3. Can I customize my model airplane?
Yes! You can personalize your model with different paint schemes, decals, and detailing techniques.
4. Do I need to paint my model?
While some kits come pre-painted, painting your model enhances realism and allows for creative expression.
5. How can I connect with other model builders?
Join online forums, local clubs, or participate in modeling competitions to connect with fellow enthusiasts and share experiences.
Our Social Pages:
https://plastic-models-store.com/
https://www.facebook.com/plastic.models.store
https://www.instagram.com/plastic_models_store/
https://www.youtube.com/channel/UCKpiM8Q6k2XjOwN9lW0fOrw


